Pixelation and Mosaic Effect used on Pixel2life v1 banner in Photopaint
Due to popular demand, I’ve decided to create this tutorial to answer the many emails I’ve received on how to create the pixelated effect you used to see on the main banner at www.pixel2life.com when we were running version 1. Now here’s the part you’re not going to like. This wasn’t done in Photoshop! (You’re thinking OH NO!!!) As a few people already know, I do not use Photoshop for anything unless I really have to, as I am a Corel Photopaint Junkie. I’ve been using Photopaint since Christ was a cowboy, so I stick with it. Luckily, Photopaint and Photoshop are so identical, I’m sure you can re-create this effect in Photoshop without much trouble. So without further delay, let’s get on with the show. By the way, this is my first official tutorial ever, so hopefully I don’t botch it up too badly. You should have at least a beginner’s knowledge of Photopaint to properly execute this tutorial, otherwise some terms may be confusing. I’ll try my best to explain each step. Here’s the effect we want
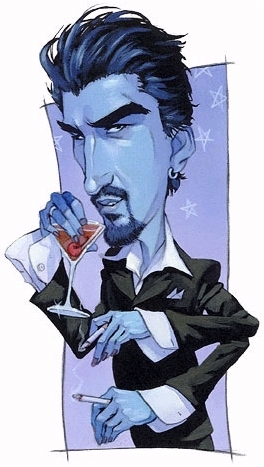
Step 1: Our first step is to open up the image we want to edit in Corel Photopaint. For this tutorial, I selected a completely random image from Google’s image search that looked interesting (Don’t ask):
Step 2: I like to work with objects, so just for the sake of being comfortable, lets make this image our primary object by clicking on Object > From Background. On your Objects Docker, you should now see one Object or Layer for you Photoshop people 😉 If you don’t have your object docker open, you may do so by clicking on Window > Dockers > Objects.

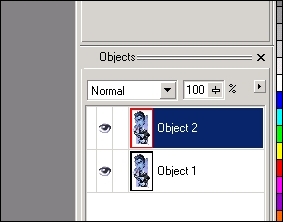
Step 3: Select the new object by clicking on the image with the Object Picker tool (Type O if you’re not on it already by default) and then do a copy paste (I like to use Ctrl-C to copy and Ctrl-V to paste, but it’s up to you). You should now have two objects which are simply duplicate images.
Please continue to the next page.
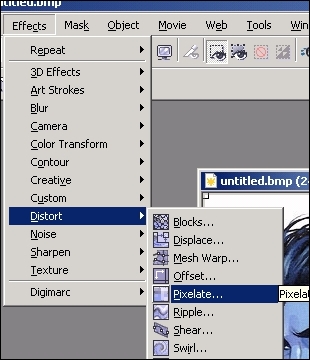
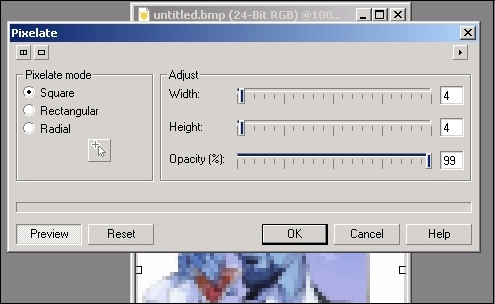
Step 4: Now we get down to business! From the menu, click on Effects > Distort > Pixelate and that will load the Pixelate effect box where you can select and preview the image.
Step 5: For this tutorial, I am using a square pixel mode with a size 4 pixel and a 99% Opacity. Feel free to use your own settings and see what you come up with. This is a neat effect and the possibilities are pretty wide.
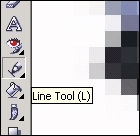
Step 6: Once you’ve selected your Pixelation settings and clicked OK, Object 2 is now fully pixelated. Now zoom in so the effect is easier to see in detail and select the Line Tool from your Toolbox bar or just type L. Select the color white for your foreground color. Now, using the line tool, create a grid pattern that matches the size of your pixelation boxes.
Now you have a couple of options here. You can do it the slow way like I do with the line tool. I simply draw my horizontal line, the duplicate it and space it out as needed. I do a few more, then combine the lines together. Copy / Paste that and fill my image. I then combine all the lines together as one object, copy, paste, then rotate 90 degrees for my vertical. This sounds tedious, but it really only takes about 10 seconds. You can also do this using a pattern fill if you like. Up to you! If you don’t know how to do a pattern fill, there are many tutorials in the P2L Index on how to do it.
Please continue to the next page.
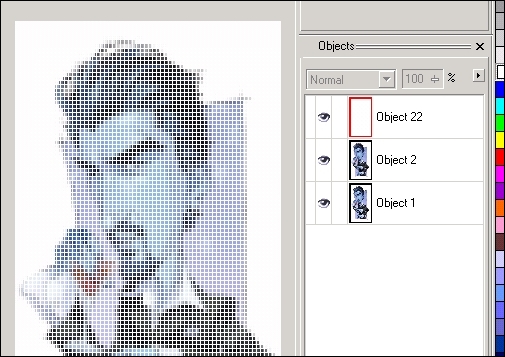
Step 7: So now we have 3 objects. The un-molested image, the pixelated image, and our matching grid. This is how things should look at this point:
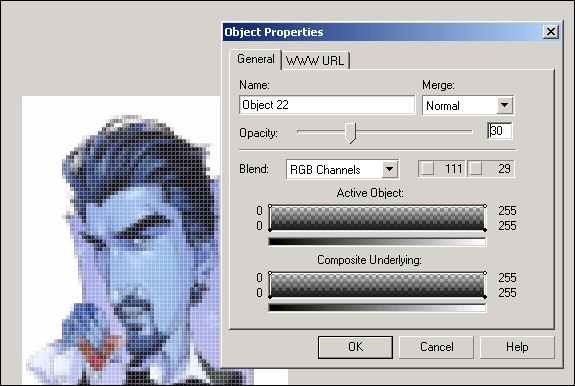
Step 8: Right click either on the grid directly, or on the Object in the docker and click on Object Properties. Set the opacity of the grid to about 30 or so. Click ok when you have it set to whatever setting you like.
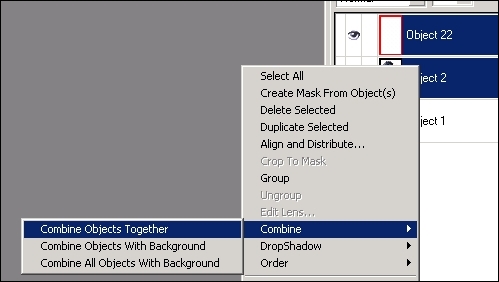
Step 9: Now combine the grid and pixelated image together to form one object. Personally, I do this by holding Shift and clicking on the two objects to highlight them. The right-click on either of the two highlighted objects, click on Combine > Combine Objects Together. You’re now back to 2 Objects. The original image and the pixelated version with the grid.
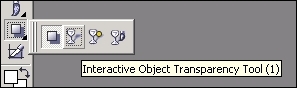
Step 10: Go back to your Toolbox bar and select the Interactive Object Transparency Tool (Or just Click 1). We’ll use this tool in the next step to blend the images together.
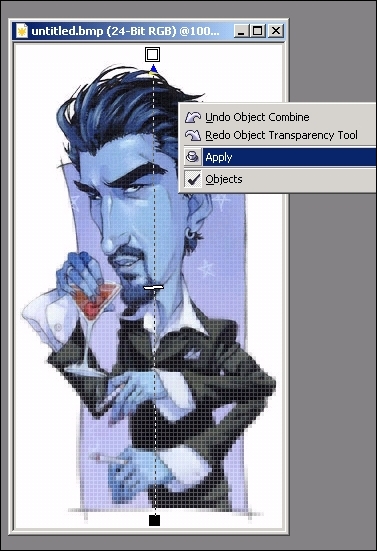
Step 11: Start at the bottom of the image and click and hold the button down to activate the transparency tool. Drag your mouse to the top of the image and release the button. Move your mouse away from the hashed line and Right-Click on the image and click Apply.
Step 12: All Done! Hope that wasn’t too tedious for you!
Enjoy!
Dan
Please be sure to check out my complete tutorial list for more great articles!
2 thoughts on “Pixelation and Mosaic Effect used on Pixel2life v1 banner in Photopaint”
Hey!
I really liked this tutorial and it helped me a lot. I had some troubles the first time but I think I didn’t have a good image. The second try was much better ^^
Thanks
this is a great tutorial – and easy to follow
thank for posting PP tutorials
=====