3D Text in Corel Photopaint – Create a 3D Text or Object Effect without a 3D App!
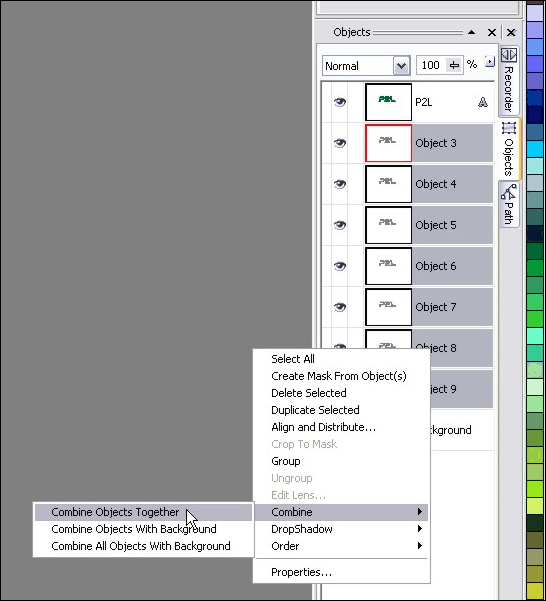
Step 9:Now that we have all 10 grey text layers going, we’ll use the object docker to highlight and combine all 10 objects into a single layer.
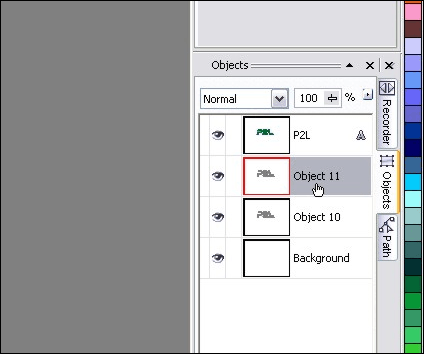
You should once again only have the background layer, the grey text object and the green text object.
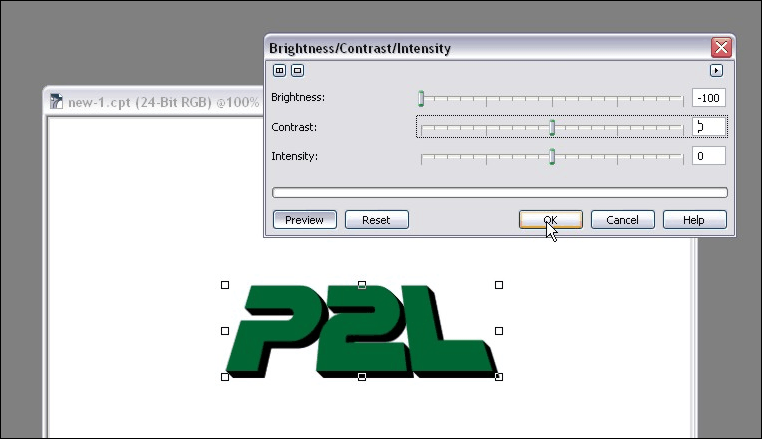
Step 10:The 3D text is done but it’s… well… it’s kind of a big yawner! So let’s jazz this up with some nice gradient effects that will just take a couple of minutes to make, but will make all the difference in the world to our text. First thing we’ll do it add a gradient to the grey text object to enhance the shadow effect of our 3D text. Start by clicking on the grey text object and doing a copy/paste to create a duplicate. Drag it down on the Object Docker so it’s under the green text.
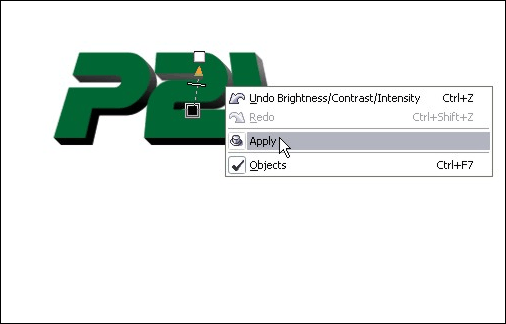
Next, click on Image > Adjust > Brightness/Contrast/Intensity and completely decrease the brightness level so that the grey layer becomes black:
And then finally, use the Interactive Object Transparency Tool to fade the black from the middle to the top so it blends in with the grey layer below it.
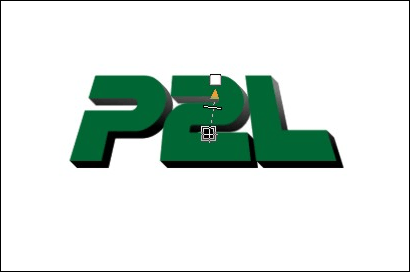
And voila! You have your gradient shadow effect! Pretty snazzy eh?

Please continue to the next page.
6 thoughts on “3D Text in Corel Photopaint – Create a 3D Text or Object Effect without a 3D App!”
This is a great tutorial, it even works with PhotoPaint8. Thanks so much, after all these years I’m still learning new things to do with it.
Ruth
wow thanks man
Please sir i need more sample
Your tutorial is really helpful
Thanks for this tutorial. I really like the way you explain everything easily.