Create 3D Style Text with a Wireframe Effect in Corel Photopaint
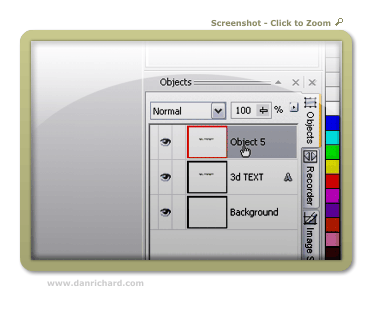
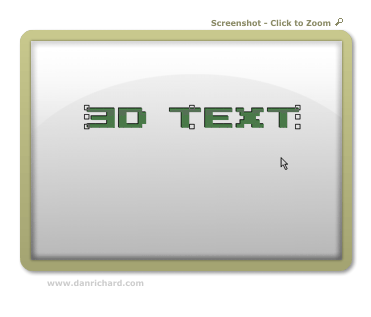
Step 3: Select the text you’ve just created and perform a copy/paste to create a duplicate object (Hit Ctrl-C to copy and Ctrl-V to paste). We’re going to use this text to create a 1 pixel black border around the green text.
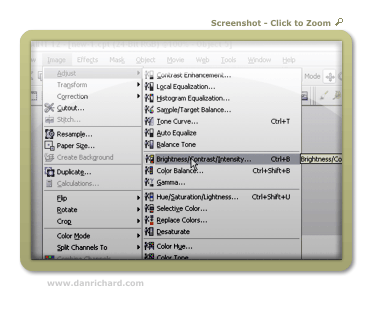
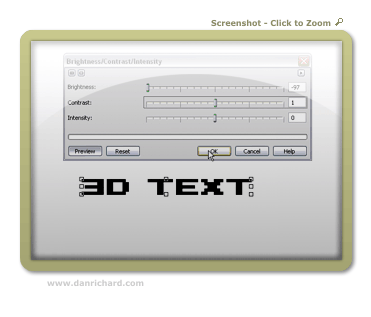
Step 4: To darken the duplicate text, simply click on Image > Adjust > Brightness/Contrast/Intensity and turn the brightness all the way down so the text is black. Click OK to apply the changes to the object.
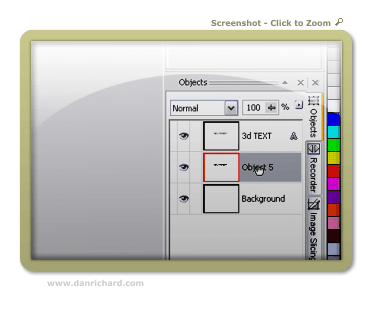
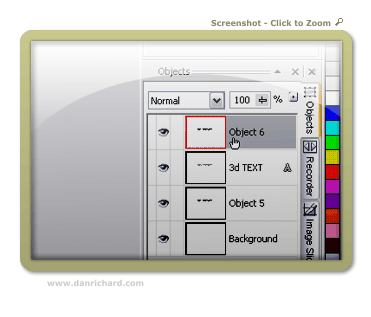
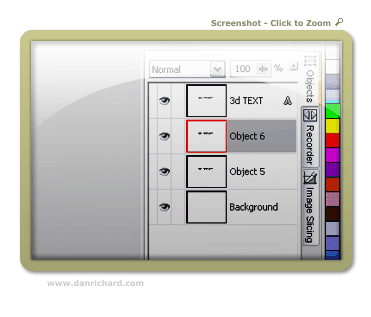
Step 5: On your object docker, grab the top object, which is the black text, and drag it below the green text to bring it to the foreground.
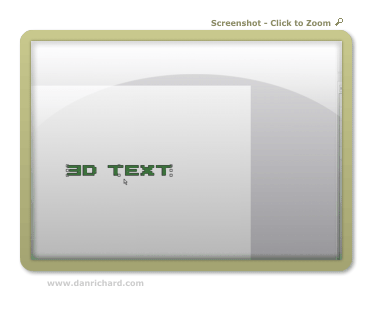
Step 6: With the black text still select, use the arrow keys to move the text up 1 pixel and left 1 pixel by simpling hitting up and left 1 time each. You will now see the beginning of a black outline behind the green text.
Step 7: Do a copy/paste of the black text to create a duplicate and move that object below the green text as well.
Step 8: Tap the down arrow once and the black text will move down 1 pixel. Repeat step 7 to create a third copy of the black text and bring that object down 2 pixels and you’ll have a complete outline on the left side of the text.
Please continue to the next page.
6 thoughts on “Create 3D Style Text with a Wireframe Effect in Corel Photopaint”
Nice work Dan! Looks like a pretty well explained tutorial for Corel Users =)
Thanks bud 🙂 Nice thing about these Photopaint tutorials is that they are VERY easy to translate to Photoshop terms. Most of the options are the exact same thing.
Dan
hey! your tutorials rocks! I totally feel it! please work hard and hope for the best!
MORE POWER TO DANRICHARD.COM!!!!!!!!!!!!!!!!!!!!
=)
Awesome column , I’m going to spend more time learning about this topic
Many ways to do photo manipulation, now many online services that provide services for photo manipulation, but I prefer to use Photoshop to perform manipulation. Photoshop tutorials are very interesting to learn. With Photoshop we can create to generate a variety of photo look more attractive.