Browsed by
Month: February 2007

How to enable the Classic Start Menu in Vista and Enable the Run Option!

How to enable the Classic Start Menu in Vista and Enable the Run Option!

Welcome to my first of what will probably be several Windows Vista tutorials!  Most people associate my tutorials and general knowledge with graphics and photography, but I spent many years in IT as a Hardware and Software manager and as a department lead, so I have tons of OS experience as well.  So with that said, I would like to expand my repertoire of tutorials to cover the latest MS operating system, Windows Vista.
I just installed the Ultimate version tonight and man, what a battle and a half to get this beast where I need it.  I really dig the new GUI functionality, but there was a lot of new goodies in this bag that had me tearing my hair hair out.  The first issue is the new Start Menu and this horrible selection method they have for the complete program list.  The entire scrollbar concept and forward/back thing just isn’t working for me.

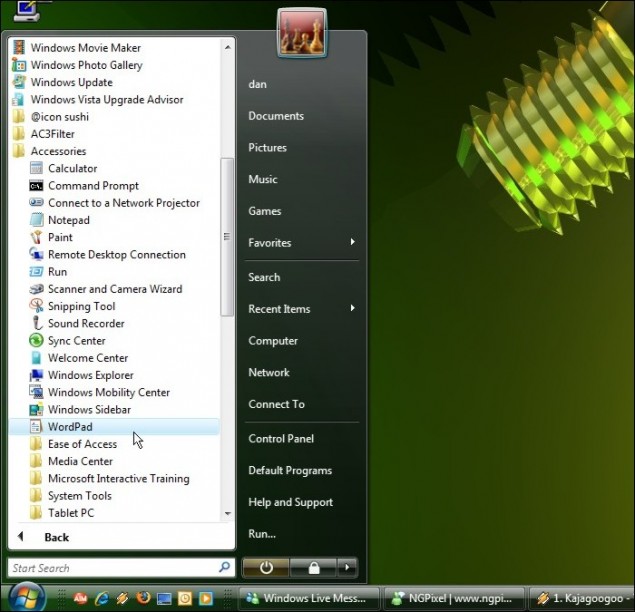
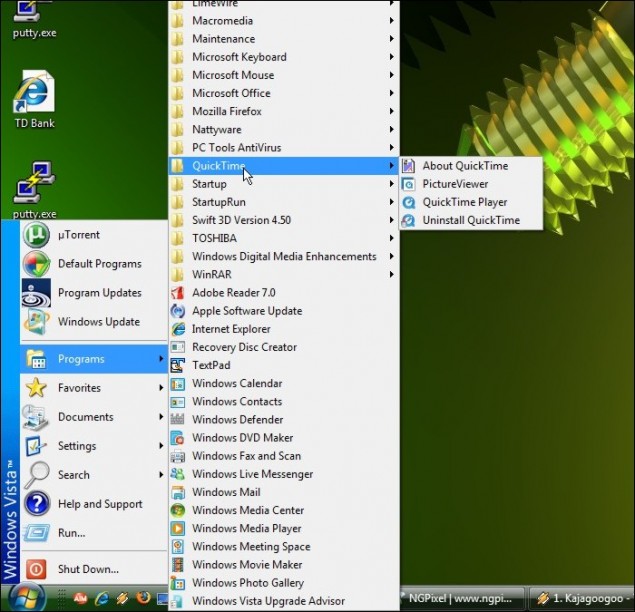
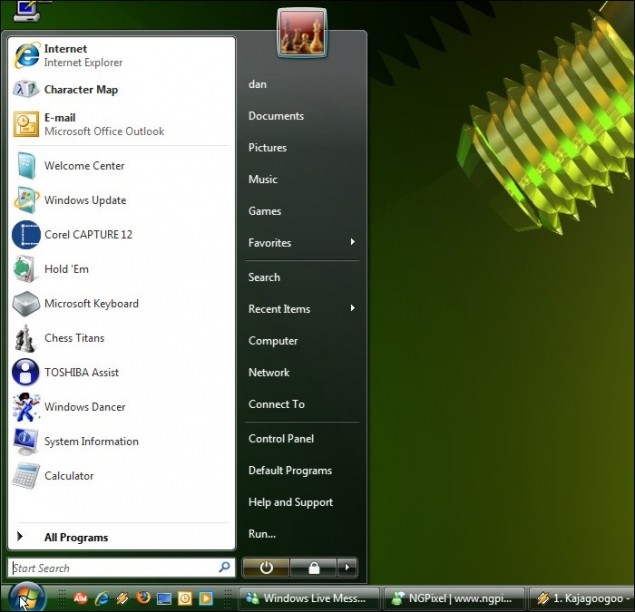
Let’s have a look at the new Vista Start Menu:

Here you can see me browsing All Programs:

Now as you can see in the screenshots above, I have a Run command button.  If you are running a fresh install of Vista, you don’t have that available, and the thought of not having a run command is probably gnawing at your very soul!  Let’s get our Classic Start Menu and our precious Run button back!

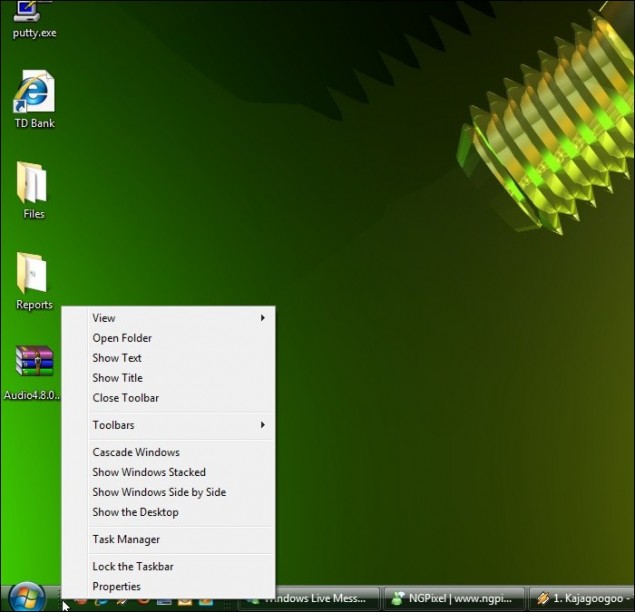
Step 1 – Start by right-clicking on the taskbar and then click on Properties:

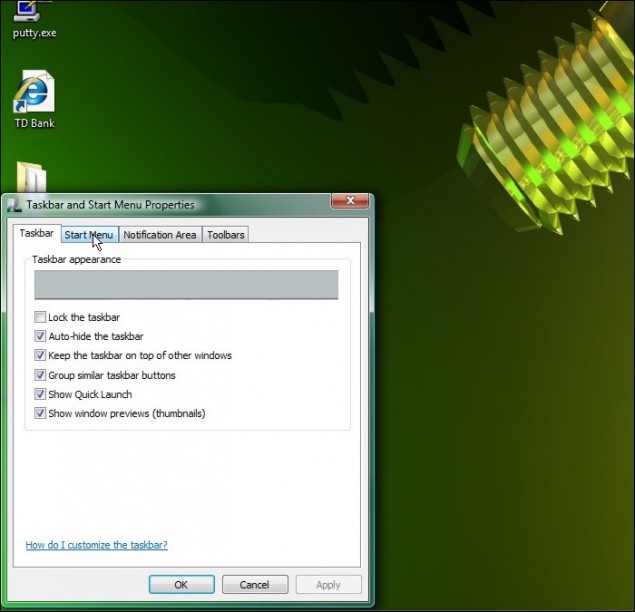
Step 2 – That will load up the Taskbar properties menu… click on the Start Menu tab to access the required settings:

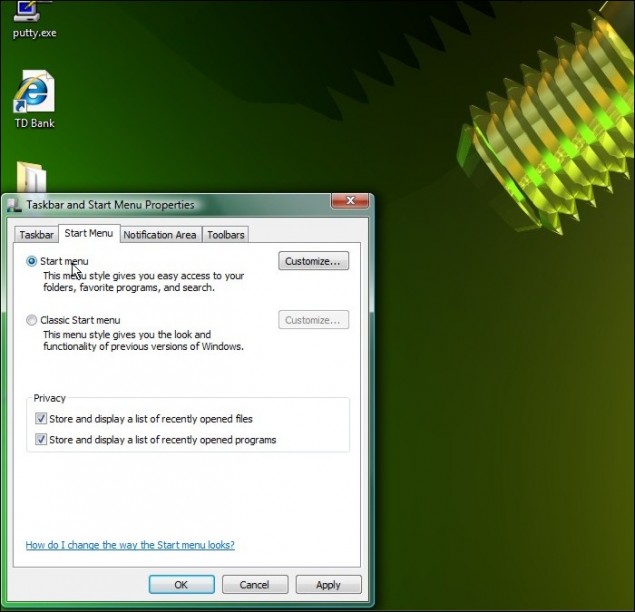
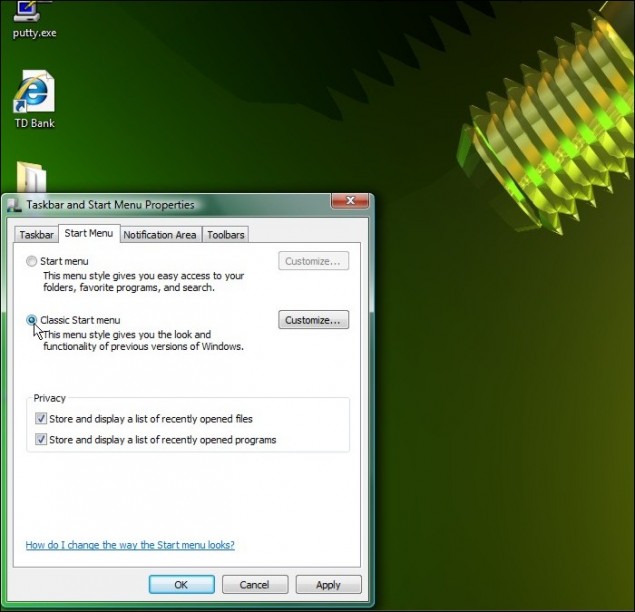
In the Start Menu tab, you have two main radio buttons:  One for Start Menu (default) and one for Classic Start Menu (Windows goodness).

Step 3 – Click on the Classic Start Menu radio button:

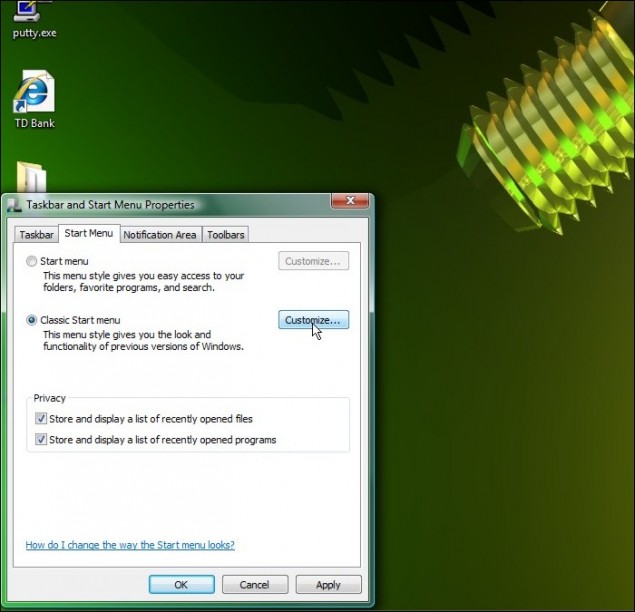
Step 4TO ENABLE THE RUN BUTTON, you must click on the Customize button to the right:

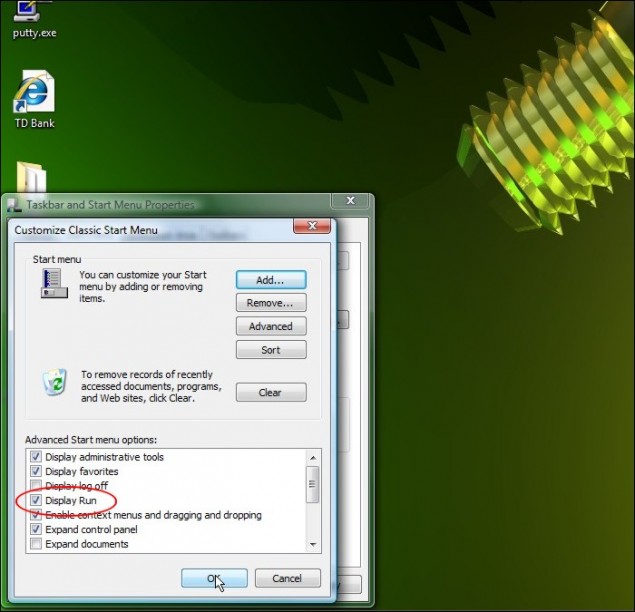
Step 5 – Here you can enable/disable various functions within the Start Menu including the Run button, which I have circled in red.  Once you’re done, click OK to return to the main menu.

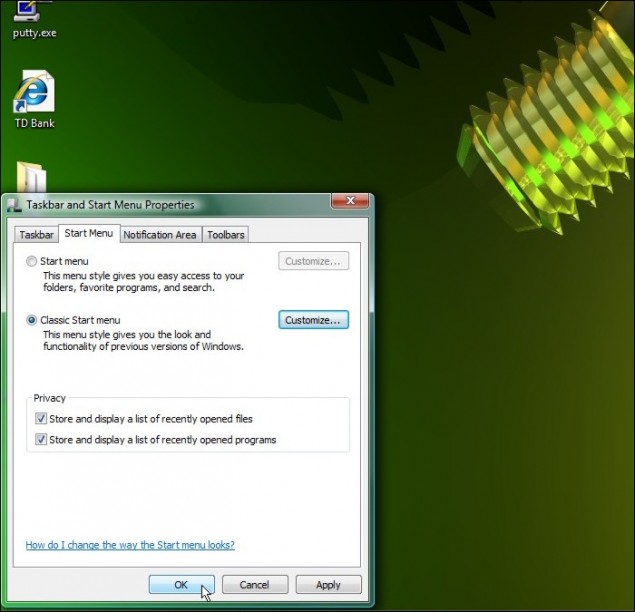
Step 6 – Good to go?  Click on OK to close and apply the new settings:

And VOILA!  Classic Windows Nirvana!

Thanks for playing!
Dan
Understanding the Fill Palette Options in Corel Photopaint – Solid, Gradient etc

Understanding the Fill Palette Options in Corel Photopaint – Solid, Gradient etc

Introduction

In this tutorial, I would like to help Photopaint users explore their fill color options a bit more in-depth and introduce you to the ability of going beyond a solid color when using fill.  By fill, I mean the inside of a circle, square, or any other drawing element you create that uses a fill color.  Many new comers to this application constantly use solid colors, then use complicated and time consuming methods of applying gradients or texture fills, when you can easily do it right from the get go.  In fact, you have 4 options to choose from when it comes to fill:

  • Uniform Fill (Solid color)
  • Fountain Fill (Gradients)
  • Bitmap Fill (Using other images)
  • Texture Fill (Pre-Formatted Textures and Styles)

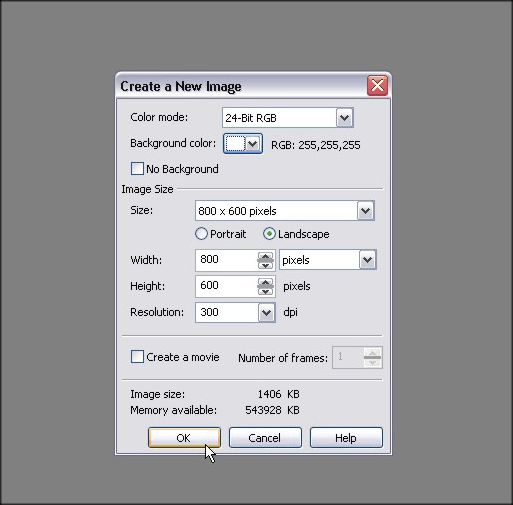
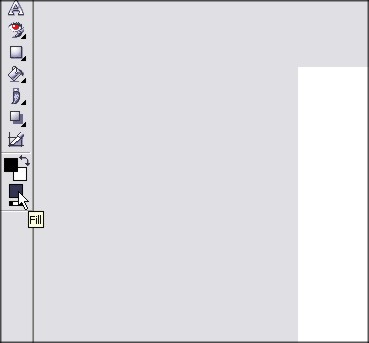
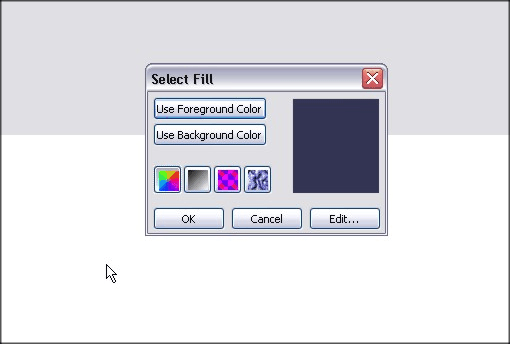
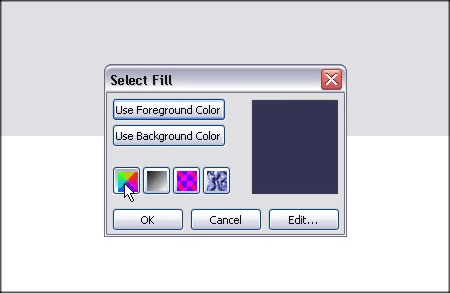
Step 1 – We’ll go through each option and I’ll explain how you use each one and show you an example of the fill in action.  So go ahead and create yourself a blank document and then double click the fill color to access the Select Fill menu:

Select Fill Menu is open:

PART 1 – Uniform Fill

The Uniform Fill option is fairly straightforward and allows you multiple methods of selecting a solid color using various palette methods.  We’ll go over the color models, mixers and palettes.

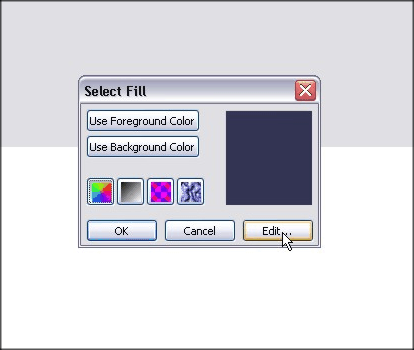
Step 1 – Click on the Uniform Fill button and click Edit

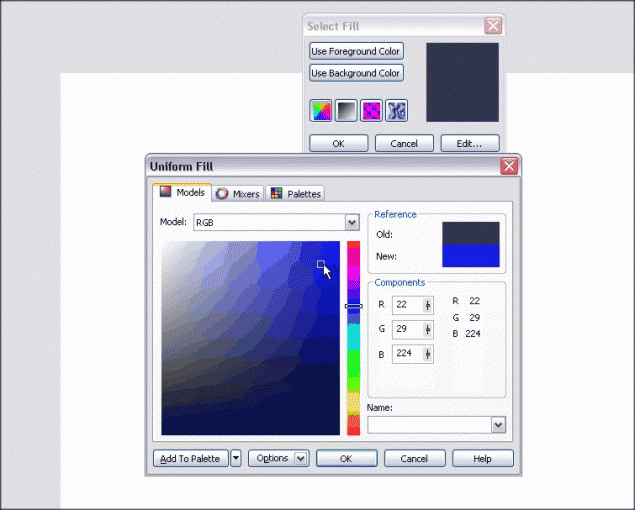
Once the Uniform Fill menu is open, you’ll find 3 tabs, which provide you with 3 methods of selecting a solid fill color:

  • Models
  • Mixers
  • Palettes

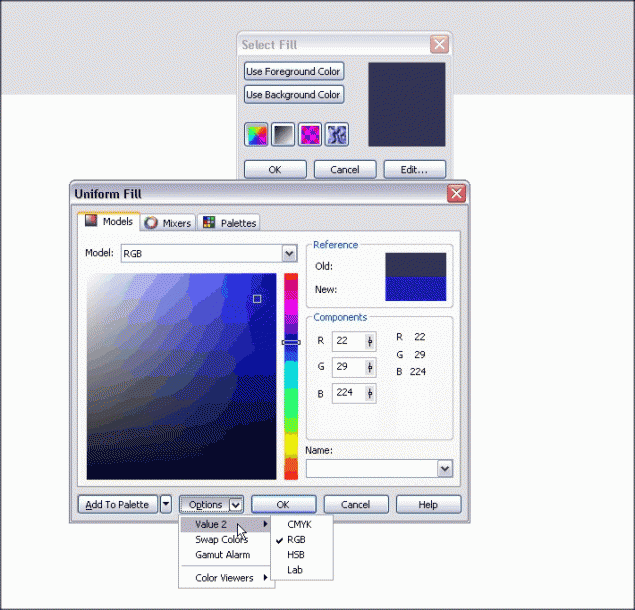
All menus allow you to select various presets or save color selections to your current palette bar, or you can browse through the options, which allow you to change between color formats and various other color tweaks.  In this screenshot, you can see the color value options:

You can also name a custom color and add it to your Palette:


Is Your Linux Box Ready for the New Daylight Savings Time Change?

Is Your Linux Box Ready for the New Daylight Savings Time Change?

Don’t forget that this year the DST changes have changed and you need to make sure your Linux box is ready for it! Not sure if you’re in the clear? Log in to SSH as root and run this command:

zdump -v EST5EDT|grep 2007

If the result displays March and Novembrr dates, Linux is ready. The only other issue you may have is Java… Java has its own timezone file so you need a patch or may need to upgrade the whole package.

(Thanks Elvio for the heads up!)

Aside from that, hope everyone has been well. I’ve been super busy with some extra site projects and catching up on outstanding work, but fear not, many new goodies are coming up for you guys in the P2L community!

Dan