3D Text in Corel Photopaint – Create a 3D Text or Object Effect without a 3D App!
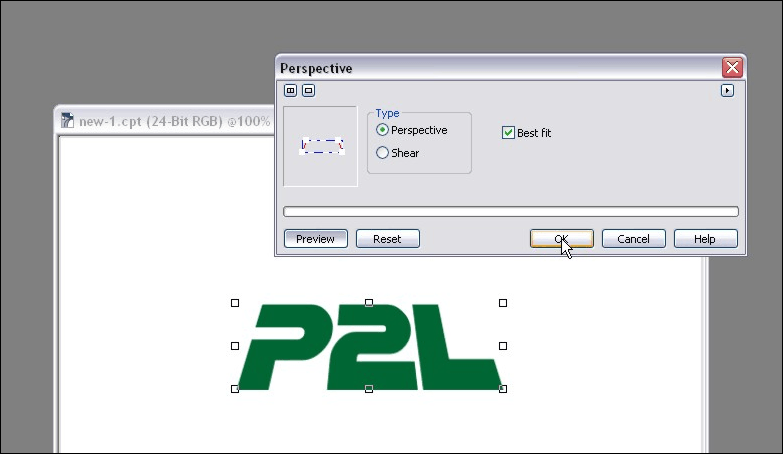
Step 3:You can skip this step if you want to, but I always find that doing this on straight text with no perspective alterations looks a bit weird. So, for those of you following along, we’ll use the 3D Perspective Effect tool to alter the perspective of the text. It’s a cool little tool and you have a variety of different methods to play with the text.
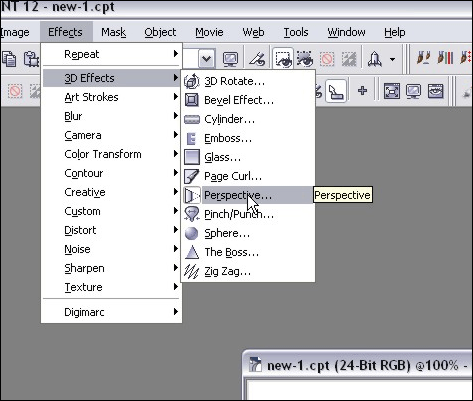
In this particular example, I decided to pinch the top inwards a bit… this changes the perspective to appear as though we’re looking at the text from the ground, peering up at the massive letters that tower above us! *trembles in fear*
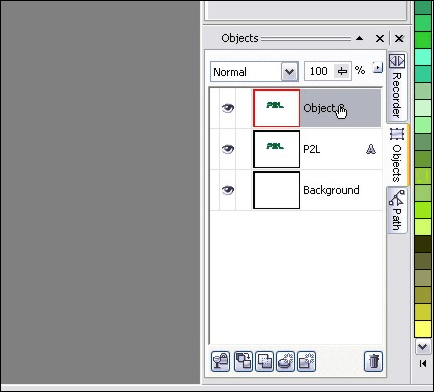
Step 4:We’re about ready to start creating the “3D” look to our text. Get started by doing a copy/paste of our main object layer and creating a duplicate. You should now have 3 Object Layers: The background, and two copies of the text.
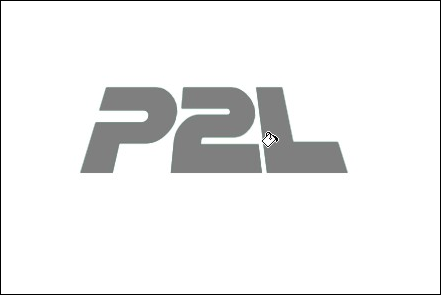
Step 5:We’ll need to fill that second layer of text with a solid dark color, so let’s pick a color, select the fill tool and then color in the object.
Pick a dark fill color… I went with a dark grey:
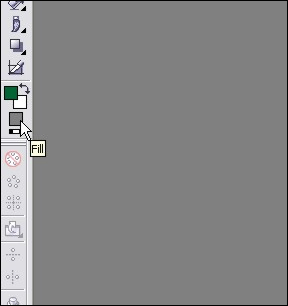
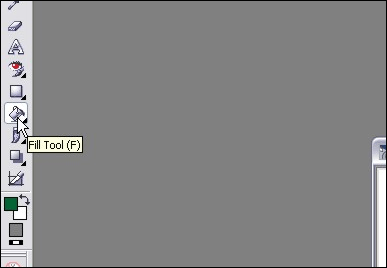
Click on the Fill Tool (or hit F):
Now click on each letter in the text to fill it with our new fill color:
Please continue to the next page.
6 thoughts on “3D Text in Corel Photopaint – Create a 3D Text or Object Effect without a 3D App!”
This is a great tutorial, it even works with PhotoPaint8. Thanks so much, after all these years I’m still learning new things to do with it.
Ruth
wow thanks man
Please sir i need more sample
Your tutorial is really helpful
Thanks for this tutorial. I really like the way you explain everything easily.