Create 3D Style Text with a Wireframe Effect in Corel Photopaint
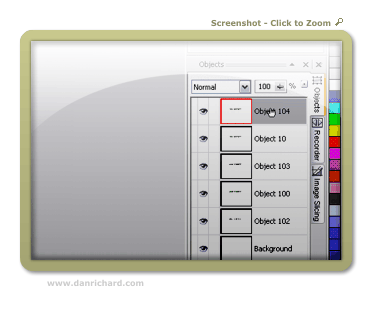
Step 22: Your object docker should now contain 3 text objects and the background. The first object should be the text with the black border that is in the foreground, the middle object should be the 3D and wire-frame area of the text, and finally, the third object should be the background text that creates the back border around the text. We’re now going to play with these objects a bit to give our text some nice lighting effects through the use of gradients.
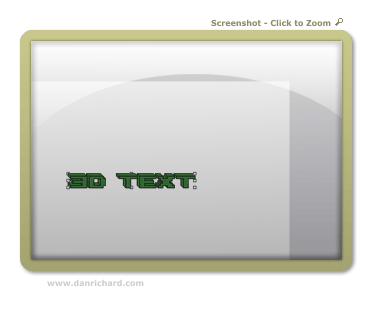
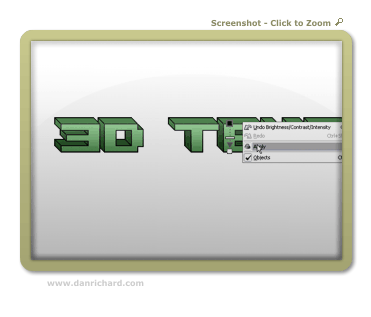
Start off by clicking on the middle object and creating a copy/paste duplicate:
We’ll leave it sitting as the top object for now.
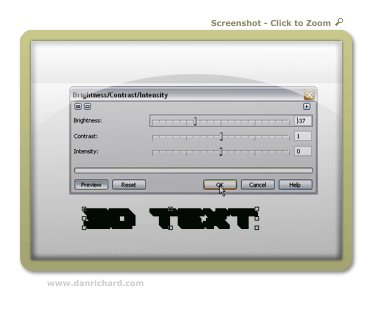
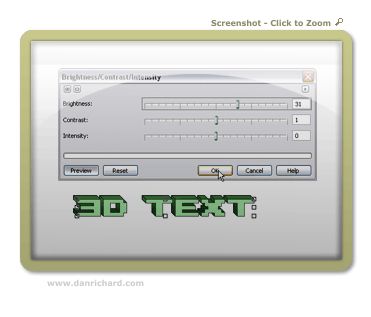
Step 23: Once again, open the Brightness/Contrast/Intensity Tool and darken up the green text object that we just created to a very dark green.
Step 24: Move the dark green object down by one position on the object docker so that it is behind the main front text.
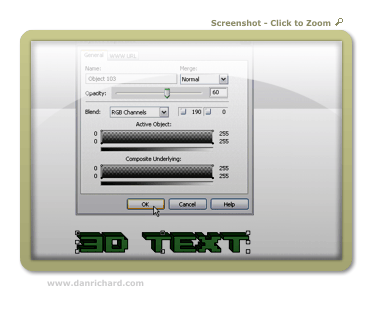
Step 25: The text is a tad too dark, plus you can’t see the wire-frame lines, so lets adjust it’s transparency a bit and lighten it up. I’ll bring mine down to 60% opacity.
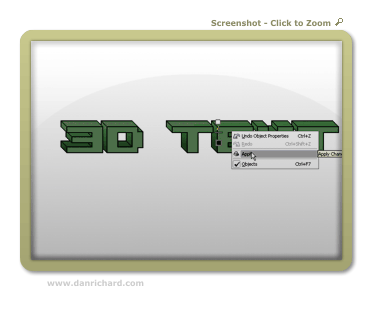
Step 26: Let’s grab my beloved Interactive Object Transparency Tool (hit 1) and we’re going to create a gradient style object transparency that starts from bottom to top. Once you’ve got a gradient you like, right click on the work area and click Apply. If you’ve never used this tool before, check out this section of an older tutorial that explains how to use it in detail.
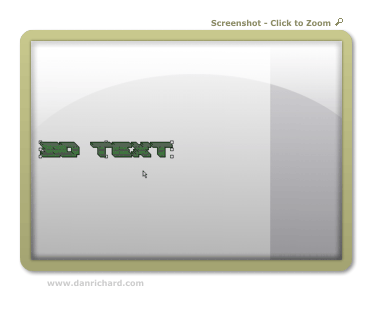
Select the Interactive Object Transparency Tool:
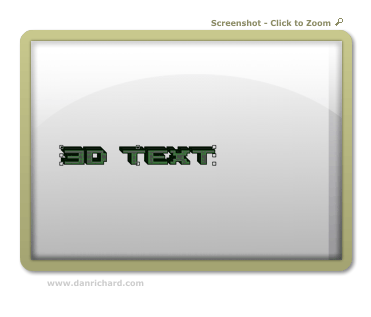
Create a gradient style object transparency that starts from bottom to top:
Pretty snazzy eh?
Step 27: Now that the middle text part is done, let’s take care of the front. Select the top text object (the front text) and create a duplicate using copy/paste.
Leave it at as the top object.
Step 28: Run the Brightness/Contrast/Intensity tool and pump up the brightness a bit on the text… we’re going to make the front nice and bright and keep the inside area dark.
Step 29: Once you’ve selected a brightness level you like, hit 1 and use the Interactive Object Transparency Tool again to create a gradient fade, but this time work from to to bottom.
When you’ve got a gradient fade you like, right-click on the work area and click on Apply and you’re done!
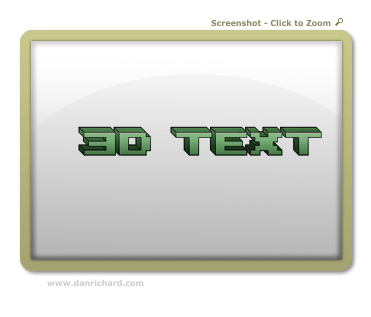
Congratulations, you should now have some sexy looking 3D text, complete with a wire-frame outline and some nice realistic shading.
Hope you enjoyed this tutorial and of course your comments and questions are always welcomed!
Thanks,
Dan
6 thoughts on “Create 3D Style Text with a Wireframe Effect in Corel Photopaint”
Nice work Dan! Looks like a pretty well explained tutorial for Corel Users =)
Thanks bud 🙂 Nice thing about these Photopaint tutorials is that they are VERY easy to translate to Photoshop terms. Most of the options are the exact same thing.
Dan
hey! your tutorials rocks! I totally feel it! please work hard and hope for the best!
MORE POWER TO DANRICHARD.COM!!!!!!!!!!!!!!!!!!!!
=)
Awesome column , I’m going to spend more time learning about this topic
Many ways to do photo manipulation, now many online services that provide services for photo manipulation, but I prefer to use Photoshop to perform manipulation. Photoshop tutorials are very interesting to learn. With Photoshop we can create to generate a variety of photo look more attractive.